For all three of these processes, use the Modify Order Wizard.
Adding a cancellation
Orders are not automatically cancelled in WorkFlows, so you must do this manually.
If you receive notice from your vendor that an order is cancelled or will never be filled, you can either delete an orderline entirely or add a cancellation. The choice is up to the library.
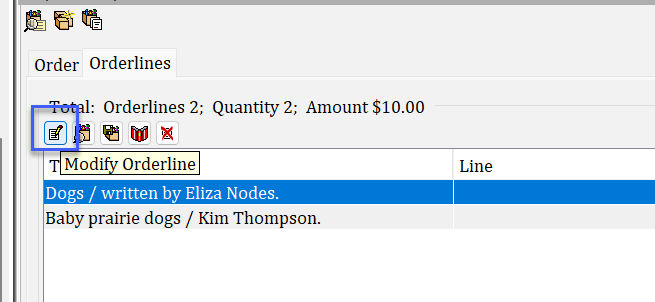
- Use the Modify Order Wizard to find your order and navigate to the Orderlines tab. Select the orderline to cancel.
-
With the orderline selected, click the Modify Orderline helper.

-
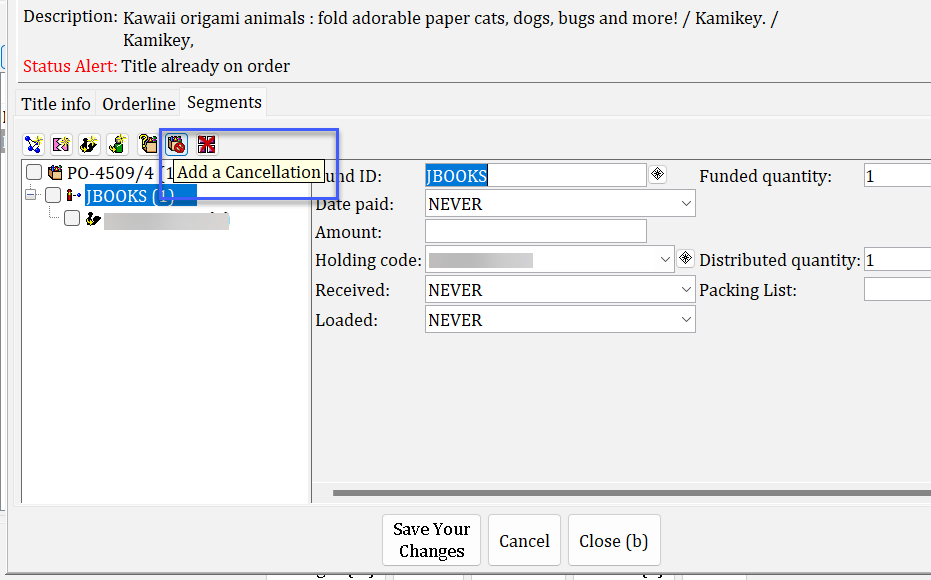
Click on the Segments tab. Then, click on the Add a Cancellation helper.
-
A cancellation will automatically be added with the Cancel reason of LIBRARY. You can see this cancellation in the order tree on the left and also on the right side of the screen.
The orderline is now cancelled.

-
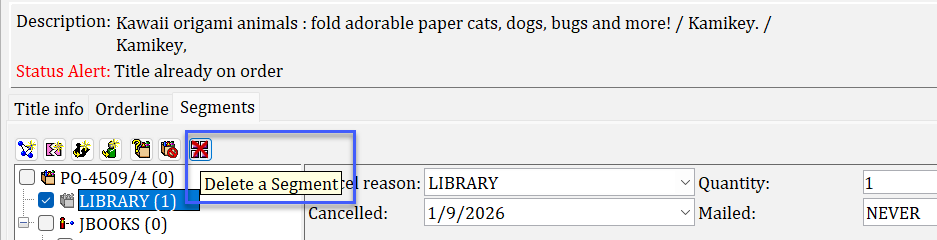
If needed, you can remove a cancellation by checking the box next to the cancellation in the order tree on the left and clicking the Delete a Segment helper. This will immediately remove the cancellation and the orderline will once again be considered open.


Adding a fund/distribution cluster
A fund/distribution cluster is the combination of fund ID, holding code, and quantity in each orderline. You can find these fields when viewing an individual orderline and looking at that orderline's Segments tab.
If your library has ordered more than one copy of an orderline, you may have just one fund ID and holding code that applies to all copies ordered. However, this may not always be the case. Sometimes you may need to split the quantity ordered into multiple funding/distribution clusters. To do this, please see the steps below.
- Use the Modify Order Wizard to find your order and navigate to the Orderlines tab. Select the orderline to modify.
-
With the orderline selected, click the Modify Orderline helper.
-
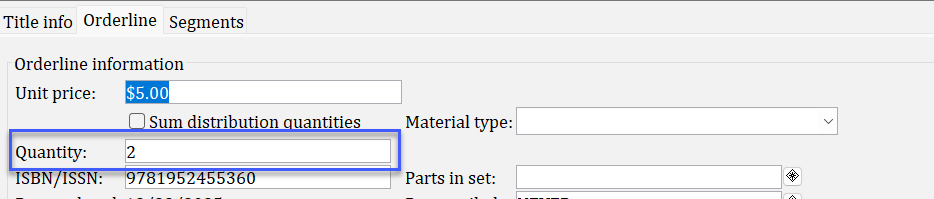
Go to the Orderline tab and verify the quantity ordered. In order to add more funding/distribution clusters, your quantity ordered must be greater than one.

-
Click on the Segments tab. By default, all quantities ordered are assigned the same fund ID and holding code. To change this, you must delete that original cluster. Do this by checking the boxes for the existing cluster in the order tree and clicking the Delete a Segment Tool.
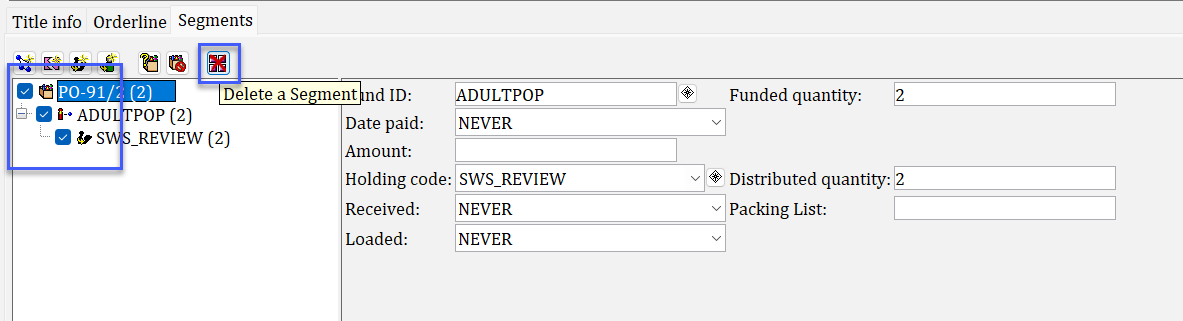
-
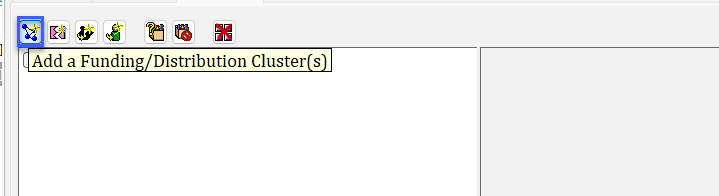
Your segments will now be empty. Click the Add a Funding/Distribution Cluster(s) tool.
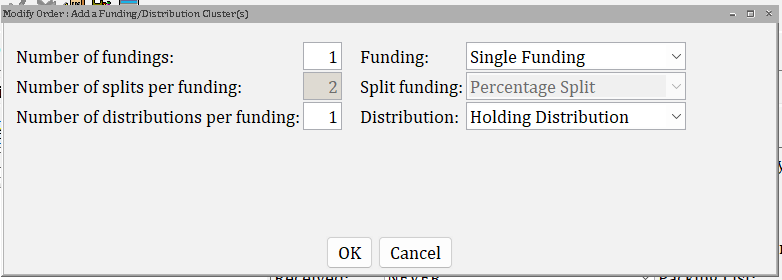
- Make your selections in the next screen.
- Number of fundings: Increase the number of fundings to match the number of funds you'd like to apply.
-
Number of distributions per funding: Increase this number of you want more than one holding code, or distribution, assigned to each funding.
-
Based on the selections you made in step 6, a certain number of boxes will have appeared. Select the desired funds and holding codes. Don't forget to also enter the funded and distributed quantities in their respective fields. When done, click Save Your Changes.
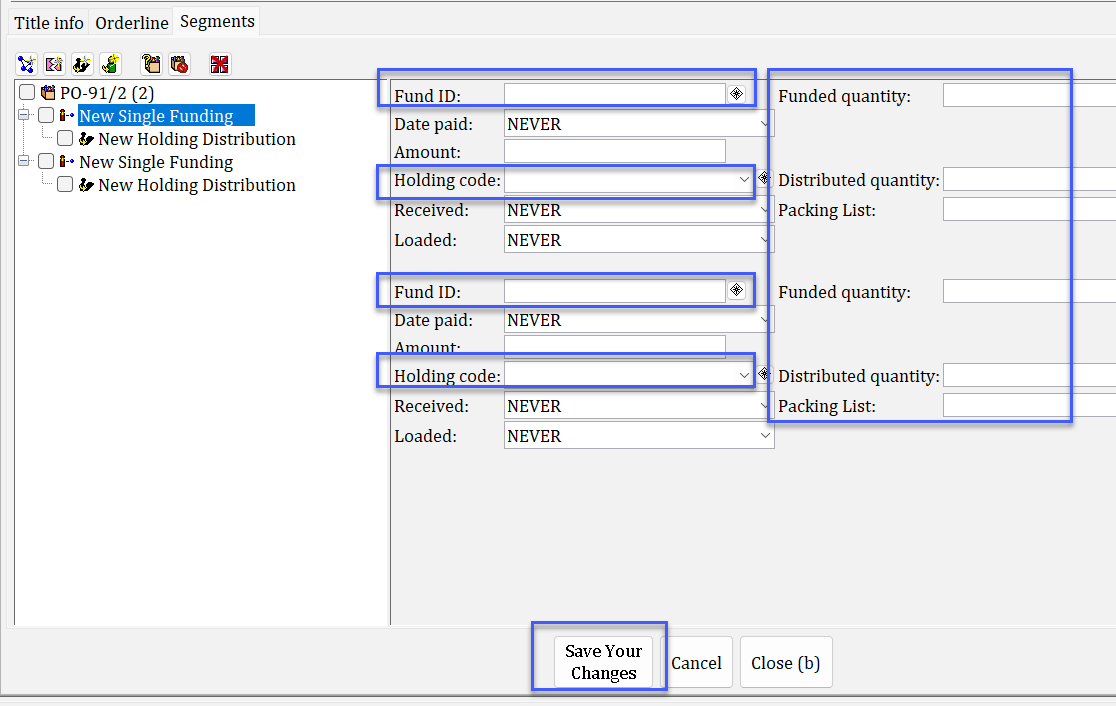
-
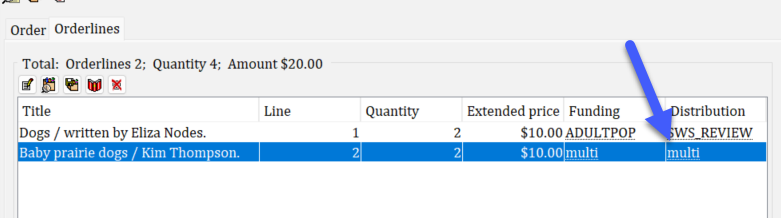
The Orderlines tab will now display "multi" in the Funding and Distribution columns.


Deleting an orderline
There are times when you need to remove an orderline entirely. It could have been created by accident or a publisher has notified you that the order will never be filled. If the latter happens, some libraries prefer to cancel the orderline, while others like to delete it outright.
Once orderlines are deleted, they cannot be retrieved, so use caution when performing a deletion.
- Use the Modify Order Wizard to find your order and navigate to the Orderlines tab. Select the orderline to remove.
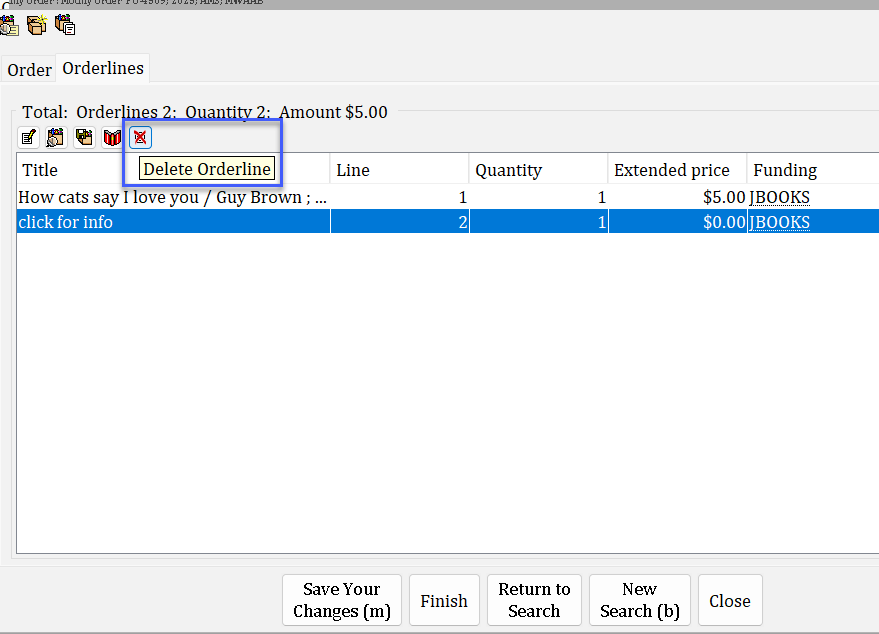
- With the orderline selected, click the Delete Orderline helper.
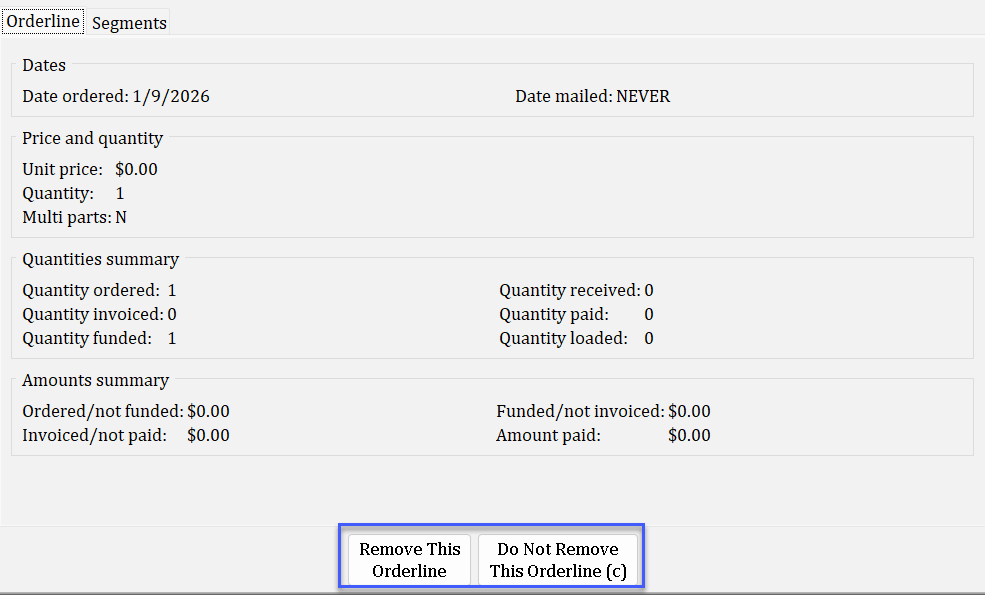
- The system displays a summary of the orderline for your review. To complete the deletion, click Remove this Orderline. To undo the action, click Do Not Remove This Orderline.
- A confirmation box appears asking if you want to truly delete the orderline. Click OK to cancel and Cancel to back out of the action.
Orderlines cannot be removed if they are invoiced or paid.